Hello, fellow yarn lovers! Are you ready to sprinkle a little autumn magic into your home? We’re so excited to share our collection of lovely pumpkin crochet patterns with you today! Imagine plump, cozy pumpkins, stitched with love, ready to adorn your shelves, mantels, or even serve as the sweetest handmade gifts.
These charming pumpkins are incredibly versatile and incredibly beginner-friendly! Whether you’re just learning your first stitches or a seasoned crocheter looking for a quick and delightful project, these patterns are perfect for you. They work up quickly, making them ideal for last-minute gifts or for adding a festive touch to your fall decor. You’ll learn simple shaping techniques and discover how easy it is to create these adorable accents. Let’s get hooking and bring some festive warmth to your space!
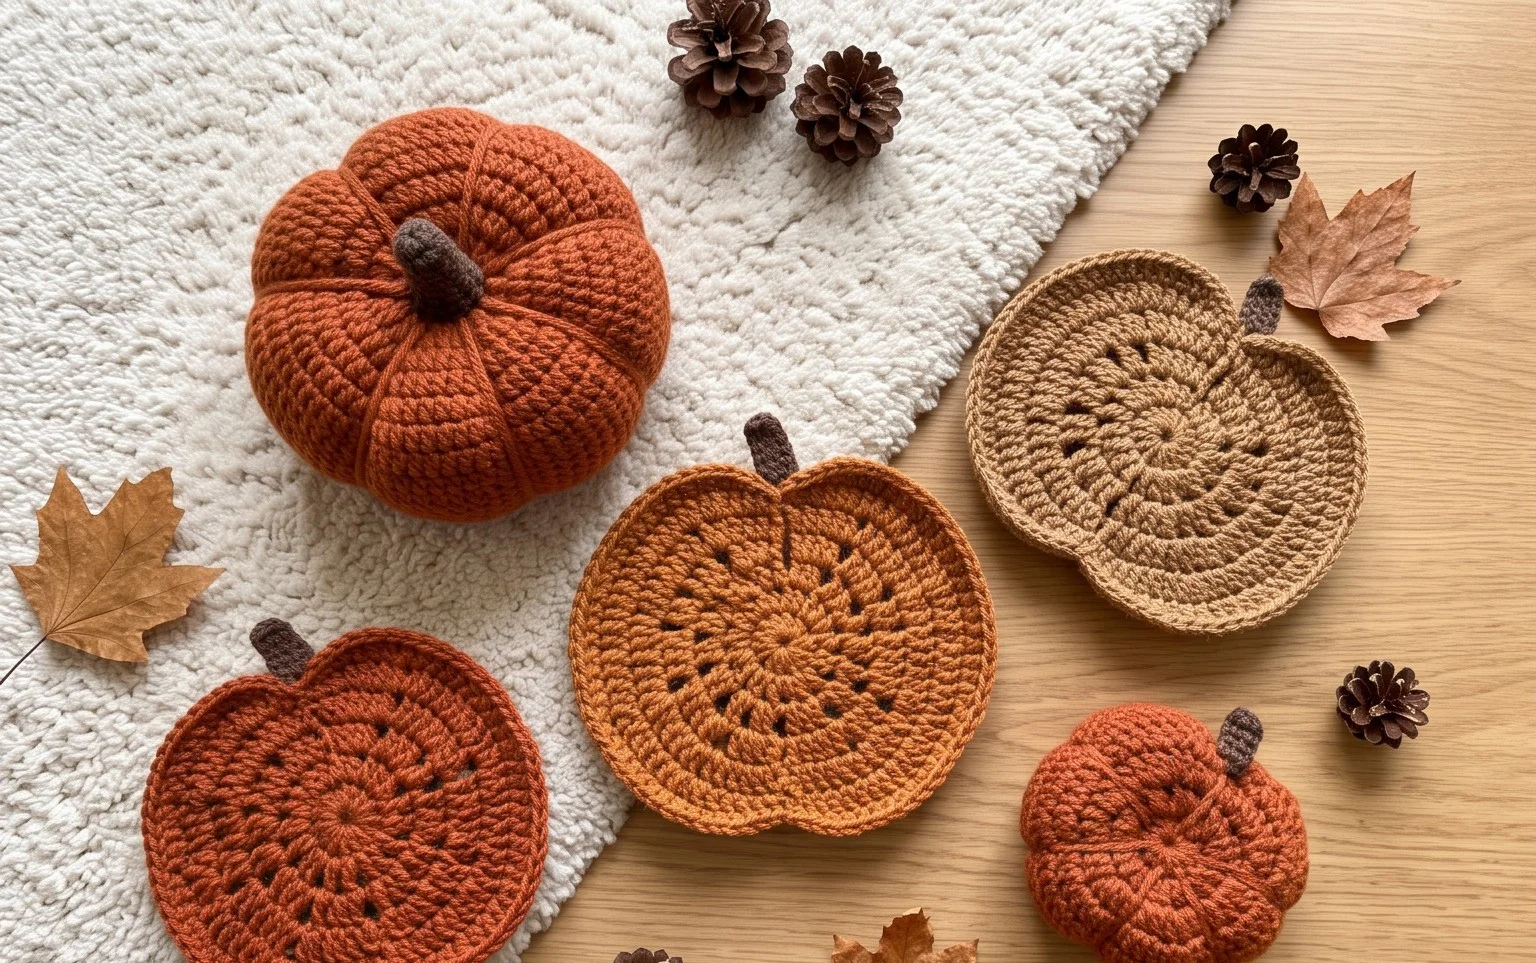
Craft Cozy Autumn Vibes with These Lovely Crochet Pumpkin Decorations!
There’s something undeniably magical about autumn. The crisp air, the vibrant foliage, and the comforting feeling of coziness that settles in. And what better way to embrace this season than by crocheting your own charming pumpkin decorations? Whether you’re a seasoned crocheter or just dipping your toes into the wonderful world of yarn, these free crochet pumpkin patterns are perfect for adding a touch of handmade warmth to your home. Imagine them scattered on your mantelpiece, nestled on bookshelves, or adorning your entryway – they’re guaranteed to bring smiles and a festive feel!
Gathering Your Materials: Yarn and Hook Recommendations
Before we dive into the delightful process of crocheting, let’s talk about what you’ll need. The beauty of crochet projects like these pumpkins is their versatility; you can achieve fantastic results with a variety of yarns and hooks.
Yarn: For these pumpkins, we’re aiming for a yarn that has a good stitch definition and a lovely, matte texture. Worsted weight (also known as Aran or medium weight) is an excellent choice. It’s readily available, works up quickly, and gives your pumpkins a satisfying plumpness. Natural fibers like 100% cotton or cotton blends are fantastic because they hold their shape well and offer a beautiful, slightly rustic feel. Acrylic yarns are also a wonderful option, especially if you’re looking for durability and a vast array of color choices. Plus, they’re often more budget-friendly!
Color Choices: The obvious choice for pumpkins is, of course, various shades of orange. Think deep rust, vibrant pumpkin orange, or even a soft peachy hue. But don’t be afraid to get creative! Imagine muted creams for a subtle look, deep greens for gourds, or even unexpected pops of color like teal or lavender for a whimsical touch. You’ll also need a bit of brown or dark green for the stems.
Hook: Your crochet hook size will depend on the yarn you choose. A good starting point for worsted weight yarn is usually a 4.5mm (G/6) or 5mm (H/8) crochet hook. The key is to work with a hook that allows your stitches to be snug enough to hold the stuffing securely, but not so tight that it’s difficult to work with. Experimenting with a slightly smaller hook can give you a denser fabric, which is perfect for pumpkins that need to stand up on their own.
Mastering the Stitches: What You’ll Need to Know
These pumpkin patterns are generally designed to be beginner-friendly, relying on a few fundamental crochet stitches. If you’re new to crochet, this is a fantastic project to practice these essential techniques.
Magic Ring (or Magic Circle): This is the foundation for most amigurumi and round crochet projects. It creates a tight, adjustable starting circle that leaves no hole in the center. There are many video tutorials available online that demonstrate this technique beautifully – it’s easier than it sounds!
Single Crochet (sc): This is the most basic crochet stitch. It creates a dense, sturdy fabric ideal for stuffed items like our pumpkins.
Increase (inc): To make our pumpkins grow, we’ll use increases. This usually involves working two single crochet stitches into the same stitch from the previous round. This technique allows the fabric to expand outwards smoothly.
Decrease (dec): To shape the top of the pumpkin and close it off, we’ll use decreases. The most common method for amigurumi is the invisible decrease. This involves working your single crochet stitches only in the front loops of the two stitches you are decreasing over, creating a much neater finish than a standard decrease.
Slip Stitch (sl st): This stitch is used to join rounds together and to finish off your work.
Tips for Crocheting Your First Pumpkin (and Beyond!)
Even the simplest crochet project can benefit from a few helpful tips, especially for beginners.
Read the Pattern Carefully: Before you even pick up your hook, read through the entire pattern. Familiarize yourself with the abbreviations and the general flow of the instructions.
Use a Stitch Marker: When working in the round, it’s easy to lose track of where your round begins and ends. A stitch marker is an absolute lifesaver! Place it in the first stitch of each round to keep you on track.
Count Your Stitches: This is crucial for maintaining the correct shape of your pumpkin. Make it a habit to count your stitches at the end of each round, especially after increases and decreases.
Stuffing Technique: Don’t overstuff your pumpkin initially. Start with a small amount of stuffing and gradually add more as you crochet. You want it to be firm enough to hold its shape but not so packed that it becomes stiff or distorts the stitches. Use polyester fiberfill for a good, washable stuffing. You can also use yarn scraps or even old fabric cut into small pieces.
Weave in Your Ends: Before you finish off and sew up your final opening, make sure to weave in all your yarn tails securely. This prevents your stuffing from escaping and gives your project a professional finish.
Making it Your Own: Customizing Your Pumpkins
The beauty of these free crochet pumpkin patterns lies in their adaptability. Here are some ideas for making them uniquely yours:
Color Play: As mentioned earlier, don’t limit yourself to traditional pumpkin colors. Experiment with ombre effects by gradually transitioning between different shades of orange, or use variegated yarns for a unique speckled look.
Size Matters: Most patterns can be easily adjusted for size. To make a larger pumpkin, simply repeat the increase rounds an extra time or two. For a smaller pumpkin, work fewer increase rounds. Remember that changing the size might also require a slight adjustment in your hook size to maintain consistent fabric density.
Stitch Variations: Once you’re comfortable with the basic pattern, try incorporating different stitches! You could add a round of double crochet for a slightly textured effect, or use a textured stitch like the moss stitch for the body of the pumpkin.
Stem Styles: The stem is where you can really have fun!
Crocheted Stem: Follow the pattern for a simple crocheted stem. You can make it longer, shorter, or even slightly curved.
Natural Stem: If you’re lucky enough to have access to small, dried real pumpkin stems, these can be hot-glued onto the top of your crochet pumpkin for an incredibly realistic touch.
Twisted Stem: Crochet a few strands of brown yarn together and twist them to create a rustic, vine-like stem.
Leaf Accent: Add a small crocheted leaf in green yarn next to the stem for an extra autumnal flourish.
Embroidery Details: Use embroidery floss to add a little face to your pumpkins for a spooky or cute Halloween decoration. You can also embroider a little vine detail.
Caring for Your Crochet Creations
Once your lovely pumpkins are complete, you’ll want to keep them looking their best.
Gentle Washing: Most worsted weight yarns can be hand-washed in cool water with a mild detergent. Gently squeeze out excess water (don’t wring!) and lay them flat on a clean towel to air dry.
Reshaping: If your pumpkin loses a bit of its shape, gently restuff it or reshape it while it’s still slightly damp after washing.
Storage: Store your pumpkins in a cool, dry place away from direct sunlight to prevent fading.
Project Ideas: More Than Just Shelf Sitters!
These adorable crochet pumpkins are incredibly versatile and can be used in so many creative ways:
Table Centerpieces: Arrange a collection of pumpkins in varying sizes and colors on your dining table for a charming autumn centerpiece.
Garland: String together several mini pumpkins to create a festive Halloween or Thanksgiving garland to hang across a window, mantelpiece, or doorway.
Pincushions: Make a small, firm pumpkin and use it as a decorative and functional pincushion for your sewing room.
Gift Toppers: Attach a small crocheted pumpkin to a gift for a unique and handmade touch.
Playtime Pals: Larger, well-stuffed pumpkins can even be charming (though not typically toy-tested) decorative accessories for children’s playhouses or dollhouses.
Seasonal Bowl Filler: Simply fill a decorative bowl with your crocheted pumpkins for an instant burst of autumn decor.
With these free crochet pumpkin patterns, you have all the guidance you need to create a delightful collection of handmade decorations. So grab your yarn, hook up your hook, and let the cozy crafting begin! Happy crocheting!
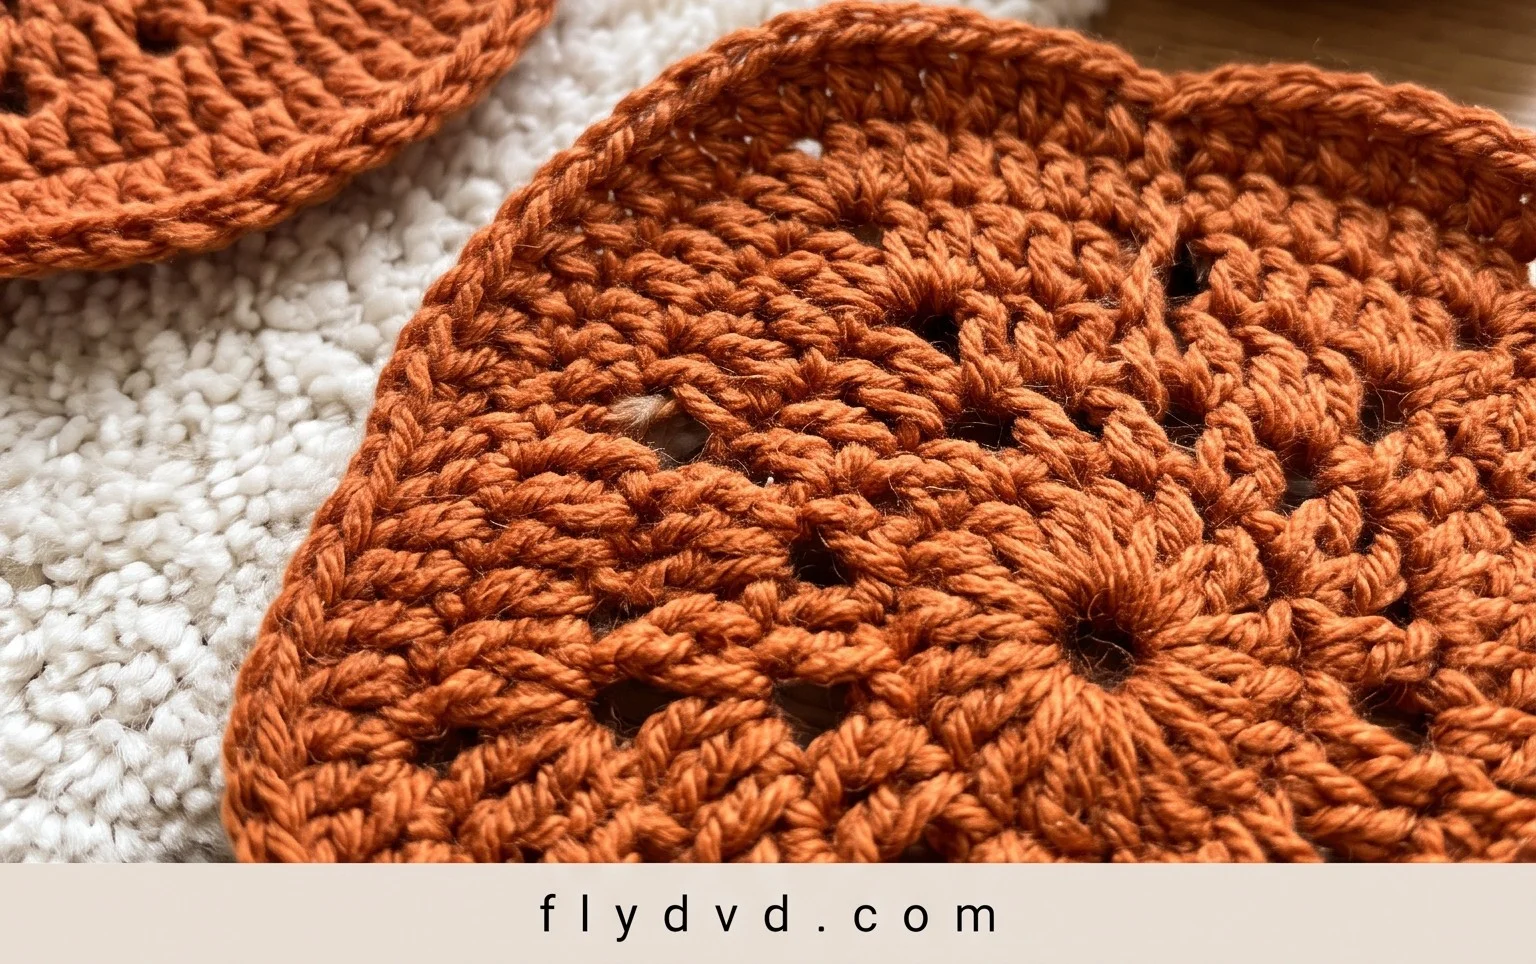
And there you have it – your very own collection of charming crochet pumpkins, ready to add a touch of handmade warmth to your autumn decor! We hope you’ve enjoyed bringing these delightful pumpkins to life. We’d absolutely love to see your creations! Don’t forget to share your finished projects on social media using # – tag us so we can celebrate your crafting triumphs!
Feel free to get creative with your yarn choices and embellishments to make each pumpkin uniquely yours. Why not try different sizes, add a crochet leaf or vine, or even experiment with textured stitches? If you’re looking for more delightful projects to cozy up your home, be sure to explore our other free crochet patterns. Happy crocheting!